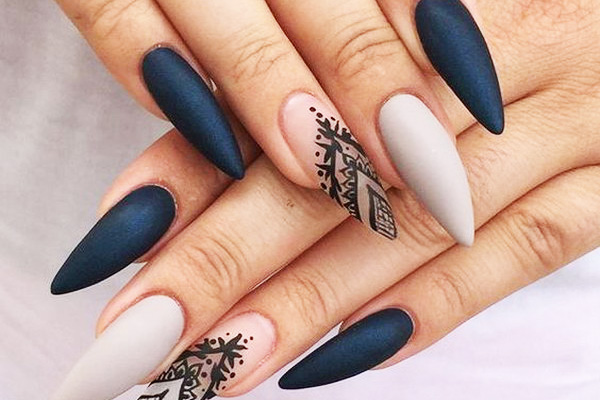
One nail trend that won’t disappear any time soon is the matte manicure. Regardless of whether you just want your nail polish to work with your office attire or when you’re out having fun, matte minis seem to do the trick if not more. Of course, there is more to matte nail polish that meets the eye especially when you add a little fun nail art on the side. Sounds interesting? Well, here are some DIY matte nail designs that are worth trying out.
Bejewelled black. Black is black but when it comes to dressing up your nails, you can make black even more gorgeous to look at by adding some jewels to your nails. Opt for black jewels to add texture to your matte nails. Put more on your thumbs with the rest of the nails having two or three jewels on them near the nail bed.
Beautiful burgundy. Start with the base coat to protect your nails from the nail polish and to help the latter to adhere better. Once the base coat has dried, proceed to applying the burgundy nail polish of your choosing. After the nail polish has dried, cover it with a layer of top coat to seal in the color and to prevent breakage or chipping. Follow this up with another layer of matte top coat and allow to dry.
Blue and gold. Elegance is the name of the game with this matte nail art. For this nail art, you will need your blue nail polish, base coat, top coat, and matte top coat and some strips of gold foil. Start by painting your nails with the base coat to act as the foundation for your matte nail art. Once it has dried apply the blue nail polish. You can choose how many layers of this color you would like to apply as long as you let it dry first before applying another layer. Once you are happy with the shade, you can proceed to adding the strips of gold on the base of your nails when your nail polish is almost dry. This will help the strips to stick to the nails better. Apply top coat when the nail polish has completely dried. The final application would be the matte nail polish to give your nails that matte look.
Black nails with glossy tip. Black has never looked more amazing with some glossy tip. First, apply the base coat on your nails followed by your choice of black nail polish. Again, you decide on how many layers of black you are going to use for your nails. Once you are satisfied, apply the matte top coat to create the matte effect. Afterwards, apply some black gloss on the tips of your fingers to create a delineation on your nails. Allow to dry thoroughly.
Floral in red. Another matte nail art design that you can try at home is the floral in red. As the name suggests, you will be adding bursts of blooms on your nails. Start with the base coat before applying red nail polish on three of your nails. The remaining two should be painted with white nail polish and let it dry. On the white painted nails, draw some flowers in red color. Add accents like green for the leaves if you like. As for the red nails, you can place a small chain of gold on the center. Seal in everything with one layer of top coat and a final coat of mattifying top coat and you are done.
